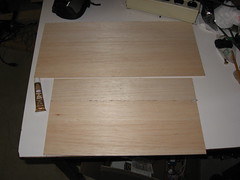
 | I needed 9"-wide pieces of balsa for the forward panel, aft panel, top, and bottom of the superstructure. But, of course, the biggest piece of 1/8" balsa is 6". So, more butt joints. The upper piece will be the forward panel and the bottom, the lower piece will be the hinged top panel. |
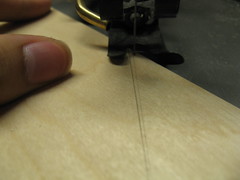 | There are many ways to join two pieces (or, in this case, one to itself) of wood together when load is expected. The best is a scarf joint, but with 1/16" plywood, a true scarf joint is impractical. So, I decided to avoid a straight butt joint by taking the idea of a scarf joint and turning it. Thus, I cut long angles from the ends of the duct pieces, which will match up when the pieces are wrapped and spread the load across a more even surface. |
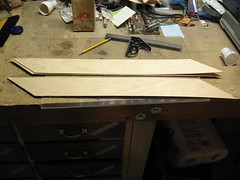 | All four pieces cut at both ends. |
 | Showing the difference in length needed for the two duct pieces to nest inside one another eventually. |
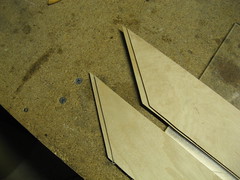
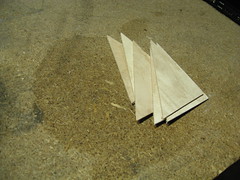 | The scraps left from the cutting. These will probably be used in the final craft for frame stiffening. |
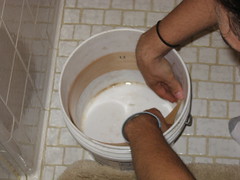
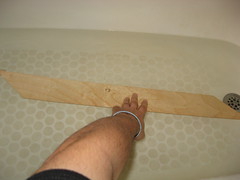 | To bend the pieces into a circle for the ducts, water is needed to soften the fibres and allow them to bend. First, I presoaked the piece in HOT water in the tub, with the piece held firmly underwater but not against the bottom, allowing the most surface area. Presoak was about a minute. |
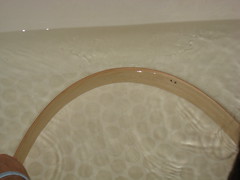 | Next, I turned the piece on its side, and began to exert a slow, firm pressure to it. |
 | Almost there! About two minutes into the bending process. |
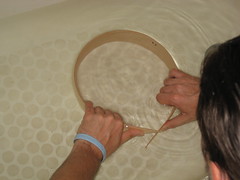
 | There, a full circle. Roughly three minutes' total time from beginning of presoak to final bend. |
 | Piece is slid into a bucket to maintain shape while drying. |
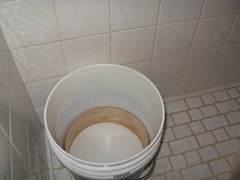 | The piece is firmly pushed against the bottom of the bucket to keep it square. |
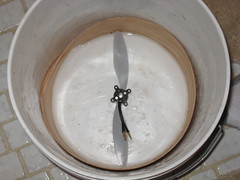 | The reason this bucket ws chosen is that it is very close in size to the propellor size. However, given the issues with gluing, I think I ought to have used a smaller bucket to get compression on the join, rather than the tension that exists now. |
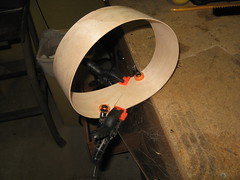 | First attempt at gluing, glue was put onto the join and the sides were clamped together, pressing firmly against one another. The join did not last long once the clamps were removed. |
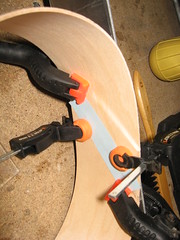 | Taking inspiration from my time working with the 3D printer at the high school my robotics team met at, the output of which regularly needed strengthening with superglue and paper, I added a piece of paper on each side of the join and spread glue evenly over every contacting surface. The join still failed shortly after the clamps were removed. Further investigations will commence later this week. |
2011-06-13
Building Ducts
So, I attempted to make a duct over the weekend. It went poorly.
Subscribe to:
Post Comments (Atom)
No comments:
Post a Comment